FPV Racing Quad Assembly and Electronics Installation Tutorial (Speed Addict 210-R 180-R)
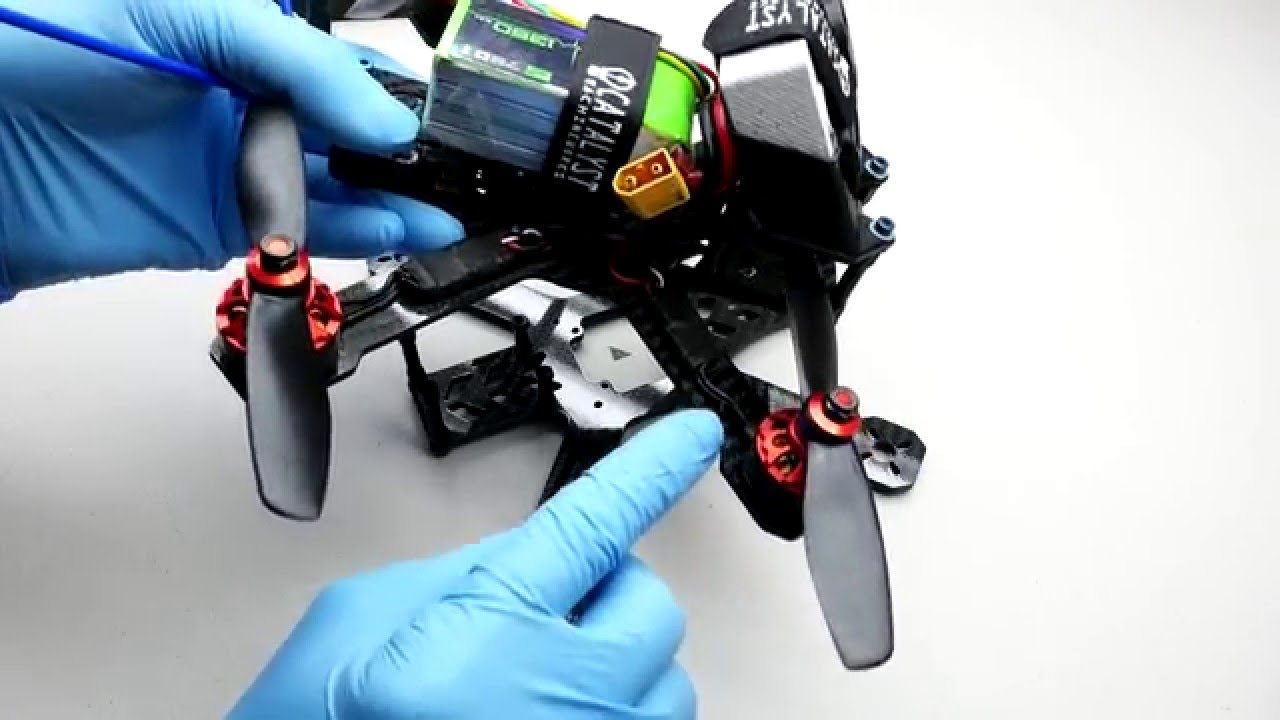
This is a step by step frame assembly and electronics installation tutorial for our Speed Addict 210-R and 180-R FPV racing quads. The same tutorial applies to both craft models. If you have purchased one of our frames or have interest in purchasing, this is a must see! Also, if you are new to FPV racing quads or interested in what it takes to actually build one this video is for you. Since this tutorial covers every single step in the build process the duration of the video is 1.5 hours long. But, feel free to skip ahead if you have no need for a particular section. This tutorial follows our assembly manual exactly and its intent is to be an additional aid to the printed assembly manual found here:
https://cdn.shopify.com/s/files/1/0623/9157/files/SPEED_ADDICT_210-R_AND_180-R_ASSEMBLY_MANUAL_-REV_2.pdf?13424549977437774649
Please note: We do not go through software setup in this video, only build procedures.
0:00 – 3:18 (Step 1 – Main Frame Plate Standoff Attachment)
3:19 – 17:44 (Step 2 & 3 – Motor/ESC Prep and Installation)
17:45 – 30:51 (Step 4 & 5 – PDB Prep)
30:52 – 33:00 (Step 6 – PDB Installation)
33:01 – 45:13 (Step 7 – ESC to PDB Wiring)
45:14 – 48:48 (Step 8 – PDB Bay Installation)
48:49 – 51:09 (Step 9 – Receiver Installation)
51:10 – 55:37 (Step 10 – FPV Video Transmitter Installation)
55:38 – 1:17:13 (Step 11 – Flight Controller Installation)
1:17:14 – 1:21:03 (Step 12 – Top Fuselage Plate Installation)
1:21:04 – 1:22:33 (Step 13 – FPV Camera Prep)
1:22:34 – 1:27:31 (Step 14 – FPV Camera and Cage Installation)
1:27:32 – The End (Step 15 – Antenna Mount Installation)




Because you made this video, I will now buy this. Thanks
This is an Excellent Video. I learn a ton of stuff since I an new to quads.
Thanks!
Hi!
I am a Senior Talent Scout for Militia Network and I couldn’t help myself
but to approach you, and invite you to join our network!
Militia Network is one of the most prestigious YouTube network communities
which offers content creators such as yourself a golden opportunity; this
opportunity being a YouTube Partnership. Partnership doesn’t change the way
your channel runs; your channel is still yours.You can upload as few or as
many videos as you would like, and you also keep all ownership of any
content you create. Not only would this allow you to earn money off your
videos, and have all YouTube partner features (banner, thumbnails,
livestreaming, etc), this would allow you to become apart of something
special; a community like no other.
On top of our amazing benefits, we also have another great perk for our
partners – Our CPM’s! Militia Network, in December, on average, paid out
over $11 per 1,000 monetized views to our partners! We also have a great
revenue share to maximize your earnings to the fullest.
If you would like to lean more or apply for partnership, you can visit our
website here: http://www.militianetwork.net/
Or contact us here:
Email: support@militianetwork.net
Skype: MilitiaNetwork
Twitter: @MilitiaNetwork
Kindest regards,
Militia Network
I think you misinterpreted the second ammendment… When giving you the
right to bear arms 11:57 ;)
What’s with the gloves? Got bitch hands?
It is not a good idea to bend the antenna wire ends and heat shrink them.
If the antenna tubes snag on anything it will rip the antenna wires out of
your receiver. Without the heat shrink the tube would slide off the antenna
wires leaving them intact.
Final AUW with the setup as shown? Looking for new 249g quads for obvious
reasons.