How To Build A FPV Racing Quadcopter Part 2 – The Build
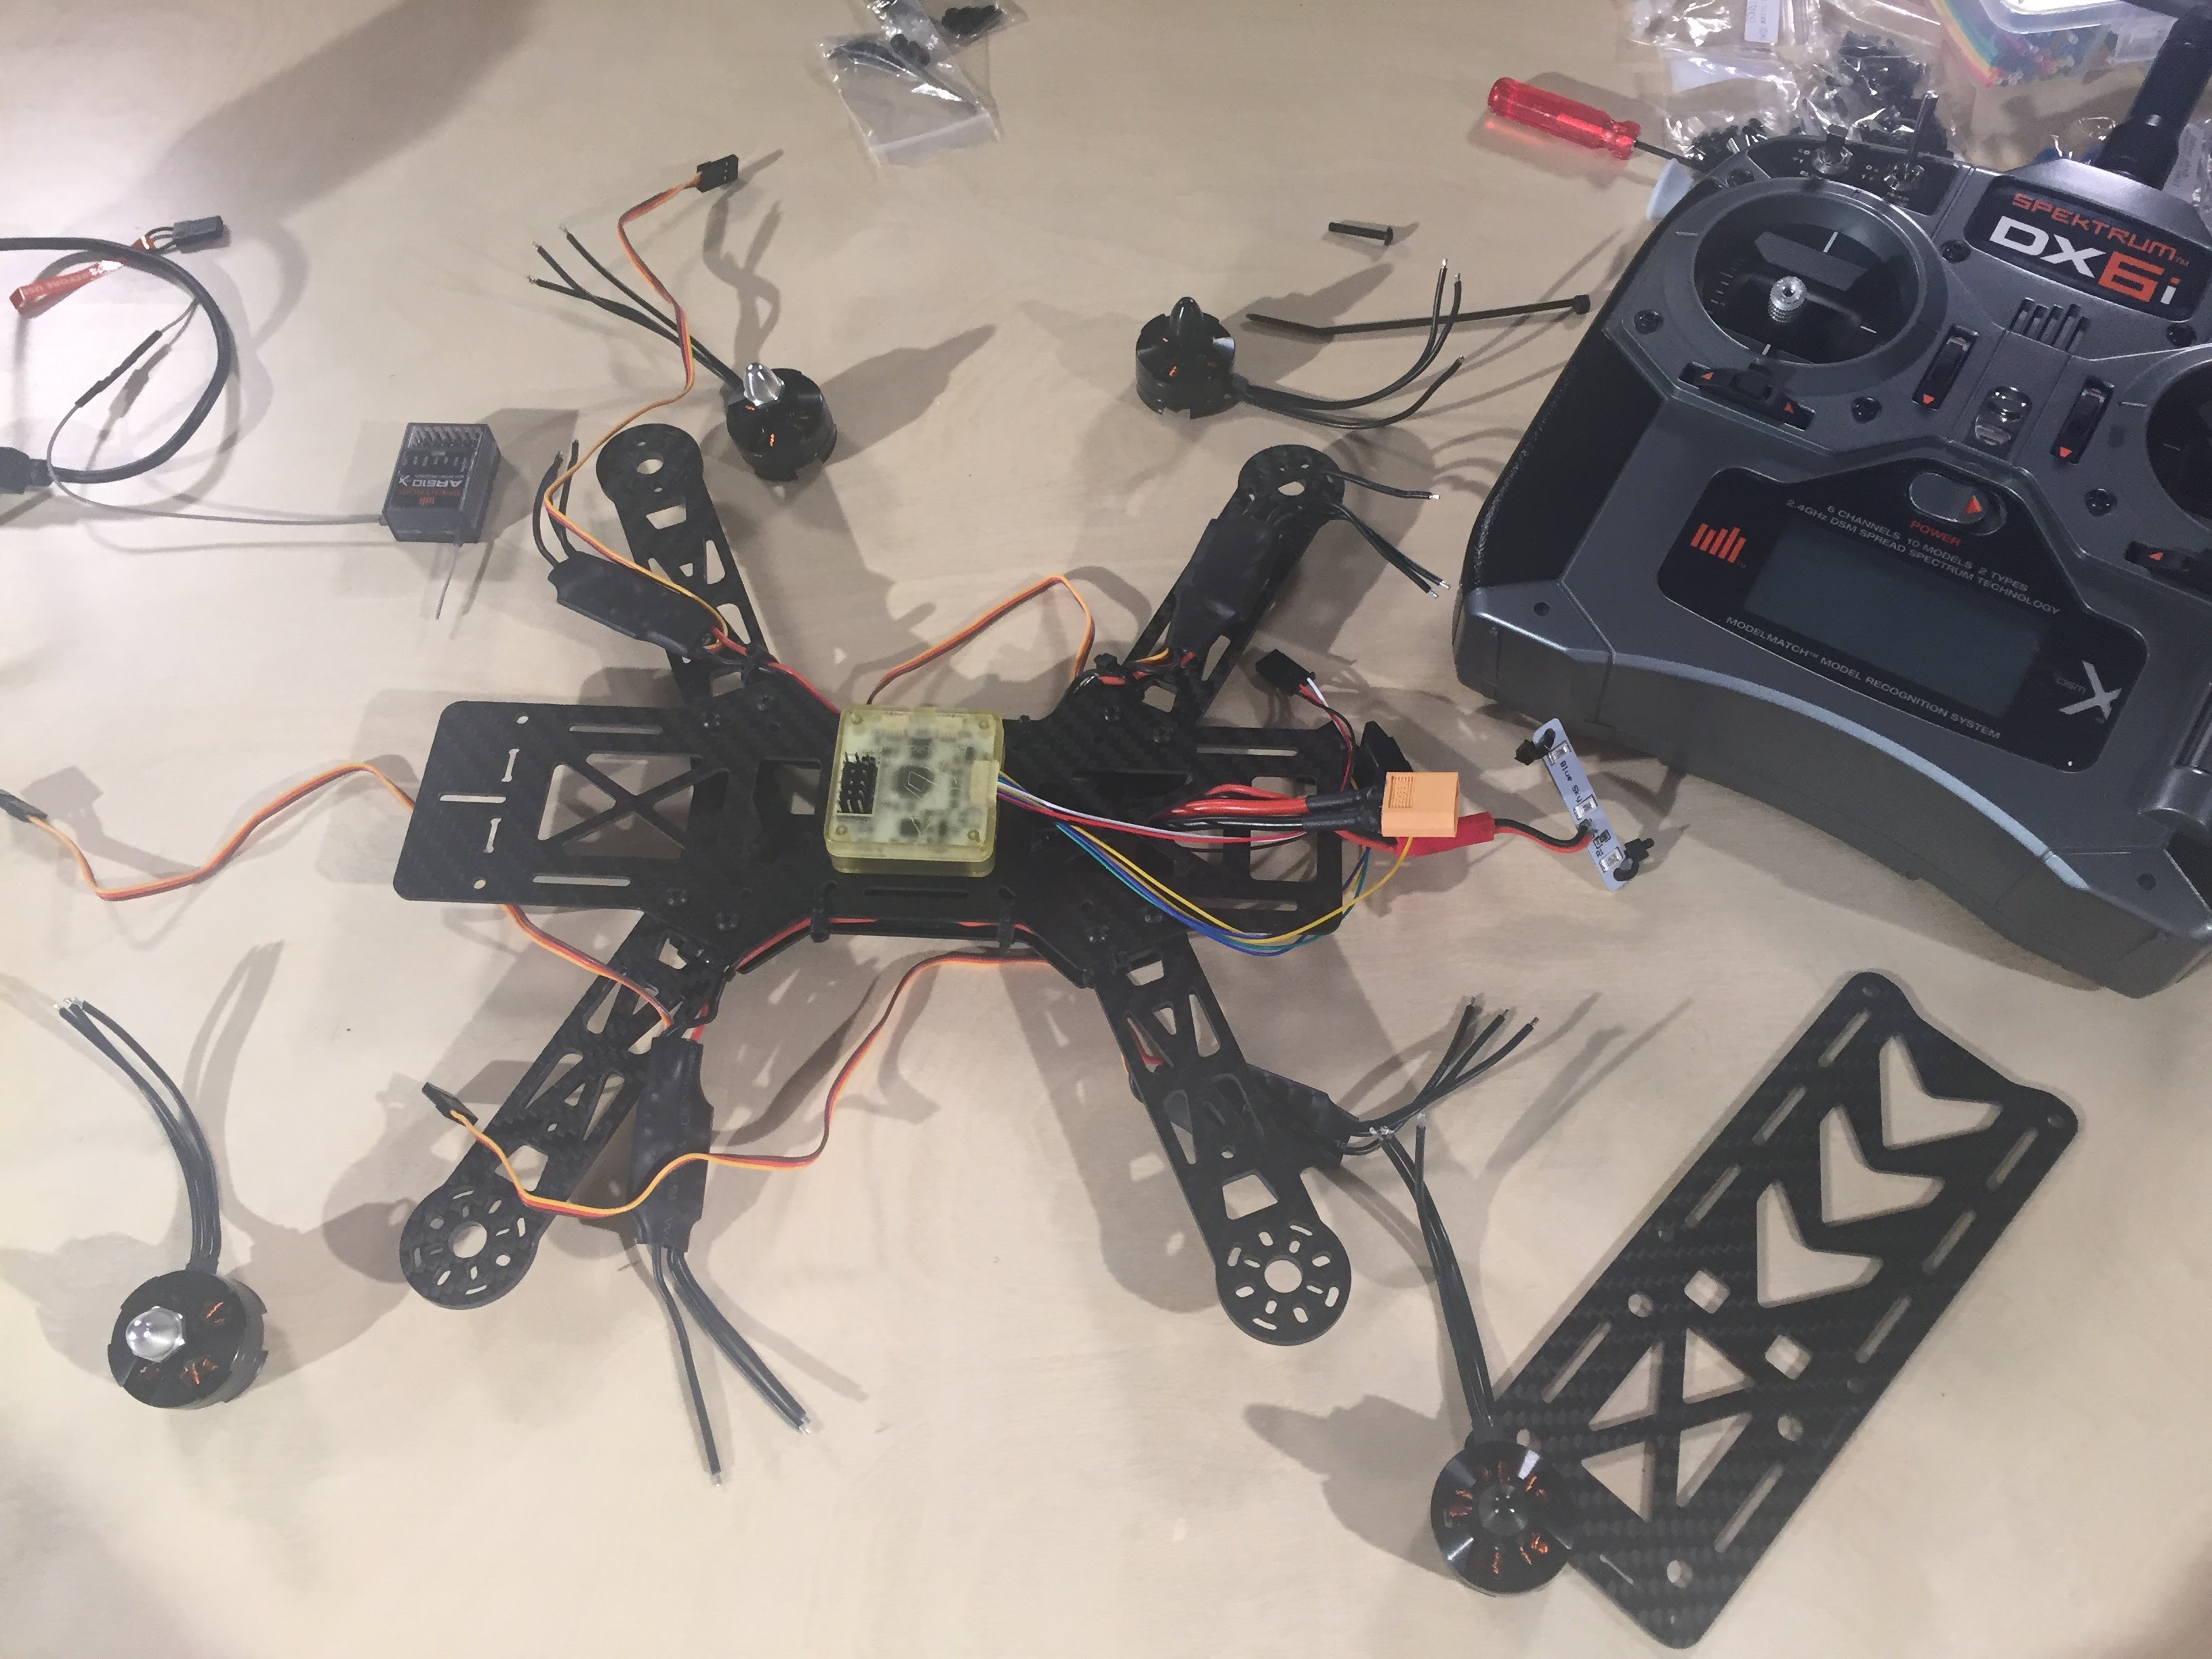
This video takes you step by step through the building process for your racing drone or quadcopter. We condensed six hours of building into ninety minutes and tried to touch on every part of the build. Building a quadcopter is challenging, but this video is a great resource for understanding the order and mechanics of the build. If you have not purchased your parts yet, you should watch our first build video that provides a parts list and explains the purpose of each component. Here is the link to that video https://youtu.be/OFxUgOdeIWs


Thank you
What a great video. The most comprehensive I have seen. Thanks so much for
your hard work.
Were can i buy a good kit to start out with i wana get out of the cars and
trucks and into this hobby!
This is a fabulous build series. Thanks! Is there any special setup for FPV
goggles? Any common stumbling blocks you can mention?
How much would this quadcopter cost to build? Assuming I don’t have any of
the supplies used in this video (including a soldering iron)
Thanks for this, will a video be coming soon of it flying?
thank you for the informative video, would you possibly be making a video
on open/libre pilot showing how to configure and fine tune?
Could you list the exact parts you used? like what type of motor and stuff
like that
Great tutorial! I am just learning about this and you were very clear and
easy to understand. Much appreciated. Thanks.
So What happened to the post build test-flight video?
The beep you hear comes from the motors. Be extremely careful when you
connect power with bare wires on the ESCs like you did, that could damage
them
Please Note, as the board was rotated when mounted for access to USB port,
you have to tell the software that it has been rotated by setting the yaw
offset. 90, 180, 270 Degrees, etc. Or else you will have a flying blender
that will find a way to get you… 0 degrees is determined by the arrow on
the board.
A top tip to simplify the motor to ESC wiring testing is to invest in a
cheap servo tester. This allows you to do it without having to hook up the
flight controller and computer until you are sure your motors are all
rotating in the correct directions.